Are you missing the comfort of freshly baked bread on your gluten-free journey? Look no further! Today, I'm sharing a foolproof gluten-free bread recipe to revolutionise your baking game (you don’t need to be a professional baker; FYI, just have fun!) This isn't just any bread – it's a crusty, aromatic loaf that rivals traditional wheat bread in texture and taste.
When I started my anti-inflammatory journey for my skin and hormones, one thing I had to cut out from my diet was wheat, which was quite tricky at the time because, surprisingly, a lot more than you think has this ingredient! But then I started experimenting and learning to make my own, which nourished me inside out and supported my anti-inflammatory diet. Supporting your health needs doesn’t mean you need to restrict yourself from delicious foods!
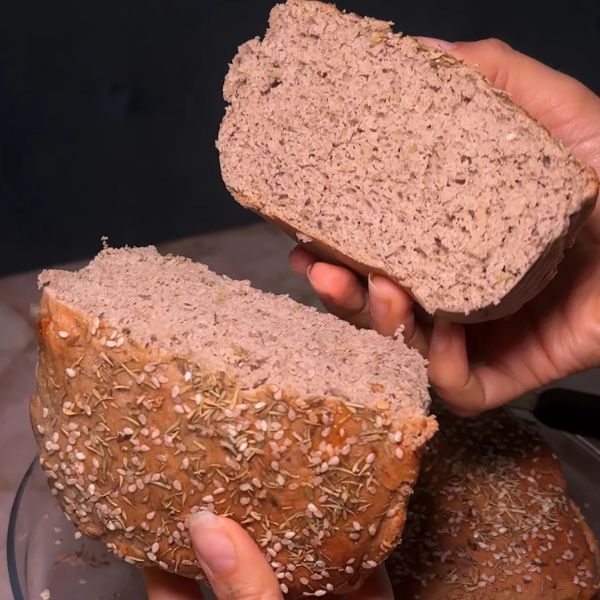
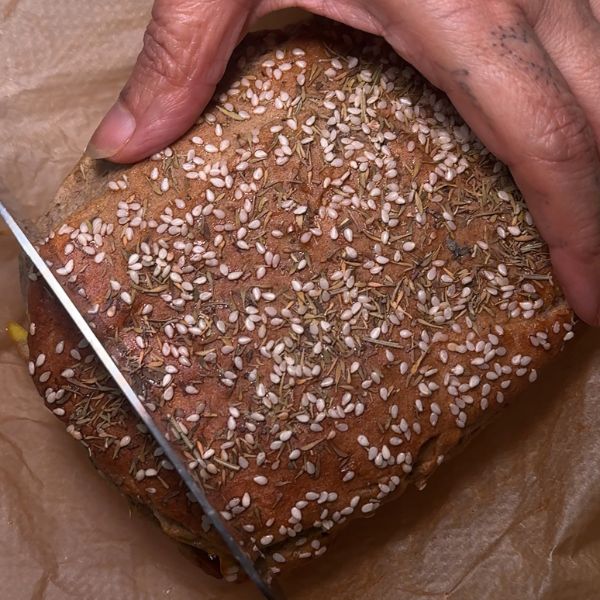
While it might be tempting to slice into your warm, fresh-from-the-oven loaf, patience is key. Allowing the bread to cool completely (1-4 hours) ensures the perfect texture and makes it easier to slice. Trust me, it's worth the wait!
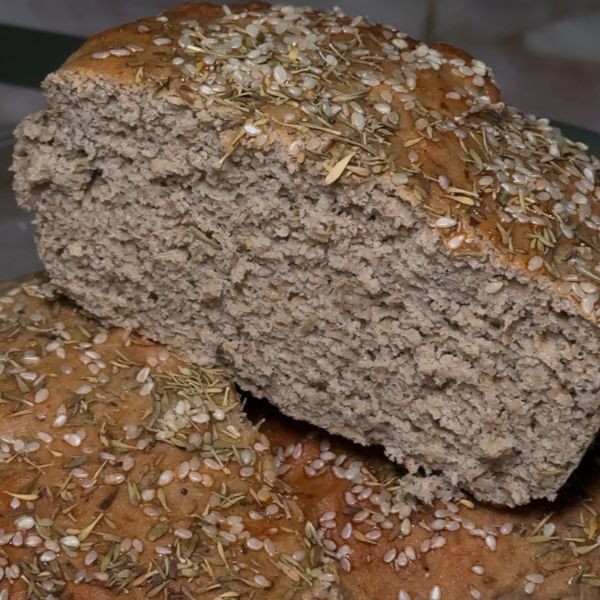
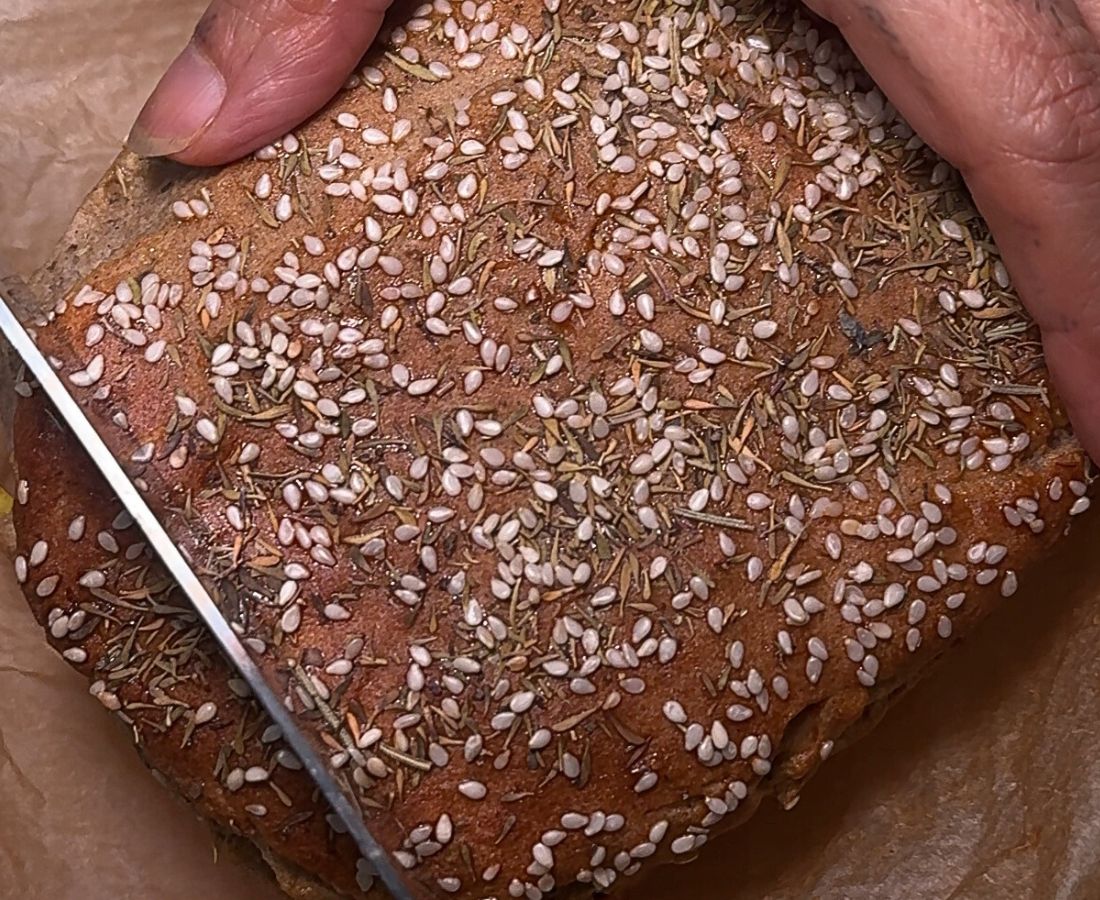
This is probably the only unfamiliar ingredient in the list above, but it is *crucial if you want to bake proper gluten-*free bread. When it’s mixed with water, psyllium husk forms a gel – which acts as the gluten substitute in the dough and the baked loaf.
Before baking, the psyllium gel helps to create a dough that can be kneaded and shaped (as opposed to a bread “batter” that has to be scooped or poured into a loaf tin).
There’s no right or wrong way to knead gluten-free bread, as you don’t have to go through the stretching motions you’d typically use to build up the elasticity in gluten-containing wheat bread.
Once the wet and dry ingredients are combined, I tend to squeeze the dough through my fingers until smooth and homogeneous. After a few minutes, you’ll notice the dough coming away from the sides, and it will be easy to form it into a rough ball.
While it won’t have the same super-stretchy elasticity of a gluten-containing wheat dough, there’s enough elasticity there that you can stretch portions without breaking off. (Thank you, psyllium husk!)
Before the bulk proof, shape the dough into a ball. This is best done on a lightly oiled surface with lightly oiled hands. Lightly flatten the dough into a disc, then take individual portions along the edge and fold them back, rotating the dough as you go.
Once you complete one 360-degree rotation of the dough, you should be left with a ball of dough. Flip it seam side down and rotate in place to seal the seams.
Upgrade your routine with:


THE 5-DAY AT HOME GUT AND LYMPHATIC RESET